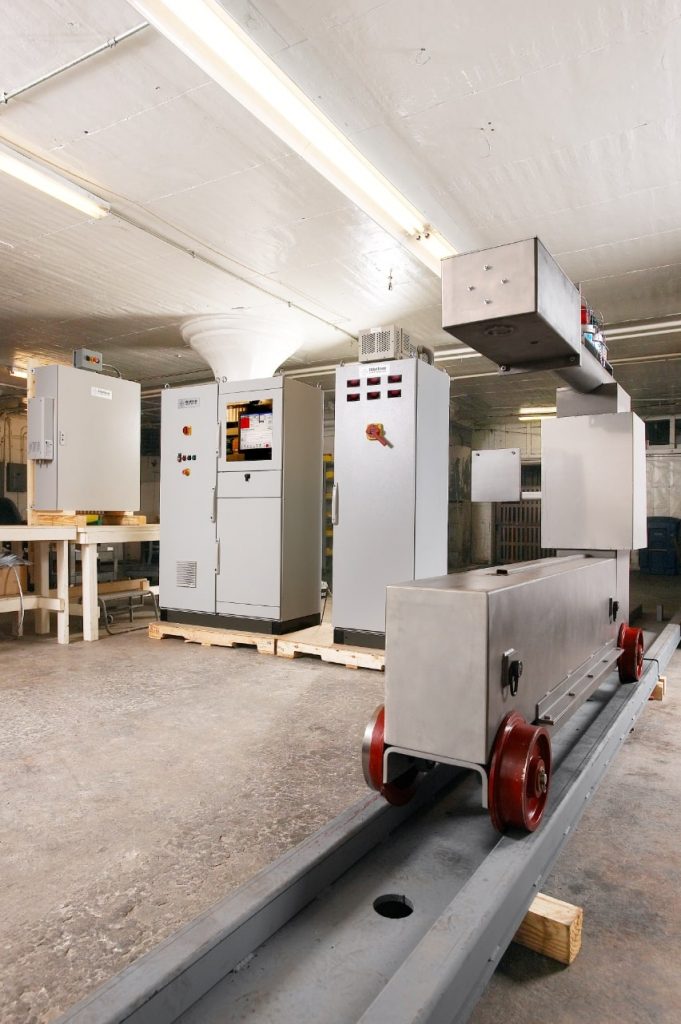
Yield improvements are of the upmost interest to steel and aluminum mills and metals processors. Yield is of interest to all manufacturers and not lost on any mill or process applications, as it will always lead to additional profits and productivity. Many processors feel that they cannot affect yield through their processes with thickness measurement systems, however that is entirely untrue. If a material is passing through their line and is not on gauge or of the expected or desired thickness, an x-ray thickness gauge or isotope gauge can report back to the mill for clarification or return without wasted process time and rejections.
Thickness measurement systems via x-ray, isotope and vision/laser-based products can alert the user that the material does not meet their guidelines for further processing. This certainly improves productivity without rejection by the end user for materials not on-gauge. These solutions will also improve the processor’s status and standing with their customer such as automotive sheet for providing the proper materials for their specific applications. In simple: accurate measurements = yield improvement!
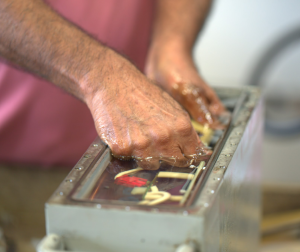
A hand micrometer can help the customer vaguely understand their thickness before processing, but these methods are highly subjective and most often will have some degree of human error, as not all technicians will measure the steel in the same manner. Their hand mics will differ based upon the individual pressures of each operator using a micrometer.
In many cases, processors will advance their steel an arbitrary amount of length before taking a manual micrometer reading for gauging. For example, if a sheet is required to be within 0.05” and 1.00”, but has a heavy or thick front end, the sheet may enter the process line with a thickness of 1.25”. The customer may then advance the material 50 feet and check their thickness with a hand micrometer. If it’s still too thick, the customer will advance another 50 feet and take another reading. The problem lies in the fact that customers will not back up the material, so when they’re finally under 1.00”, they will end up cutting out somewhere between 1-50 feet of quality material, and directly decrease their yield output. However, if an x-ray thickness or isotope gauge are implemented on the line, the customer will be continuously gauging thickness, and will know exactly where to stop their line to shear their thick head.
Global Gauge offers thickness measurement systems in a variety of platforms as well as sensors, these can be x-ray based, radioisotope source and vision/laser-based systems. Global Gauge offers platforms of industrial computer-based systems with remote I/O (Accura RIO) as well as commercial PLC (Perfecta) based gauging systems all utilizing Windows platforms. Global Gauge and our predecessor companies have been manufacturing x-ray thickness gauge systems since the 1950’s with hundreds of applications in use today. The Global Gauge systems are manufactured in the USA in Moraine, OH at our US based headquarters. While manufacturers have exited the industry or are based in foreign countries with minimal sales and service offerings within the US, we remain committed to this market for the long haul.
We are here to serve you and help in your yield improvements, please contact us for further information!
